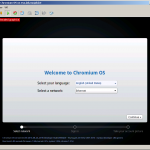
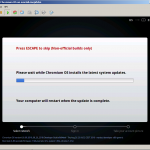
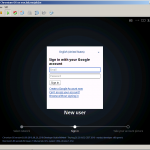
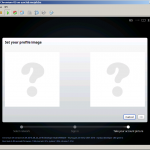
Here’s how to get started on compiling Chromium OS from source, and running the operating system inside a virtual machine. The cursing part is mainly to set it all up, as it’s quite cumbersome.
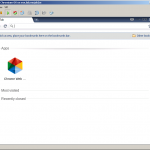
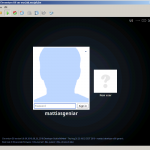
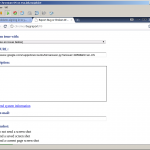
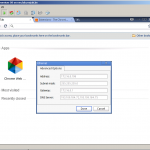
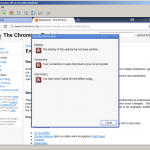
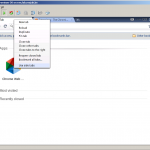
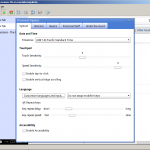
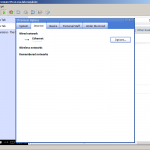
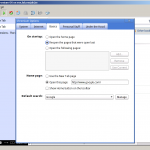
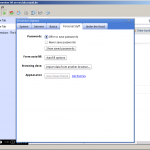
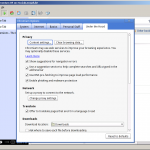
In order to inspire you to try the same (ahum), here are some screenshots of the developer build made at Thursday, August 26th 2010.
There are still some nasty bugs in the OS (especially in a VMware environment) which drop your screen/video from time to time to a black image, and there don’t seem to be any apps available yet. So errr … it’s only a quick-booting (8 seconds!) crashing “browser”, but hey – it’s cool, amiright?!
1) Get Ubuntu 10.04, 64-bit, and install it.#
You’ll need around 40GB of free space, and root privileges (through sudo) on your system.
2) Run the following to install the pre-requisites .#
$ sudo apt-get install bison fakeroot flex g++ g++-multilib gperf libapache2-mod-php5 libasound2-dev libbz2-dev libcairo2-dev libdbus-glib-1-dev libgconf2-dev libgl1-mesa-dev libglu1-mesa-dev libglib2.0-dev libgtk2.0-dev libjpeg62-dev libnspr4-dev libnss3-dev libpam0g-dev libsqlite3-dev libxslt1-dev libxss-dev mesa-common-dev msttcorefonts patch perl pkg-config python python-old-doctools rpm subversion libcupsys2-dev libgnome-keyring-dev libcurl4-gnutls-dev libcupsys2-dev
Or you can download the install-build-deps.sh and run it, to have it download automatically. It’ll do some additional config as well, so I do prefer this method.
$** ******wget http://src.chromium.org/svn/trunk/src/build/install-build-deps.sh
$** ******sudo chmod +x install-build-deps.sh
$ sudo ./install-build-deps.sh
That’ll probably take a while, it should download around 200MB worth of extra software.
3) Install the depot_tools (optional)#
$ cd /usr/local/src/
$ svn co http://src.chromium.org/svn/trunk/tools/depot_tools
$ export PATH=`pwd`/depot_tools:"$PATH"
This will install the gclient binary. While it’s part of the deprecated way of retrieving source code, it’s still a valid tool to use.
4) Get git and repo#
$ sudo apt-get install git-core subversion
The repo tool as its install instructions here :
$ wget http://android.git.kernel.org/repo -O /usr/bin/repo
$ sudo chmod a+x /usr/bin/repo
5) Get the Chromium OS source #
Make sure you run this as a non-root user. Alle steps following this one, should be done as a normal user. This user needs to have sudo-powers.
$ cd /usr/local/src/
$ mkdir chromiumos
$ cd chromiumos/
$ repo init -u http://src.chromium.org/git/manifest -m minilayout.xml
Running the repo init will prompt you for your name and e-mail address, together with a question to enable color display for that user account.
Your Name [root]: Name
Your Email [root@server.(none)]: [email protected]
Your identity is: Name [email protected]
is this correct [y/n]? y
Enable color display in this user account (y/n)? y
Afterwards, you can start the code sync by running:
$ repo sync
That will download a lot of source code. At the time of writing, it exists of ~93 projects varying in size, for a total of 2GB. So yes, this will take a while.
If you’re getting “error: RPC failed; result=22, HTTP code = 502 ” error codes while it’s syncing, have a look here for possible fixes.
6) Start building Chromium OS #
This is fun part. I’ll cover this briefly since it lacks some fine-grain explanations on the Project’s Wiki: Building a Chromium-Based OS . Again, be sure to follow those steps as a non-root user, with normal privileges.
$ ln -s /usr/local/src/chromiumos/ ~/chromiumos
$ cd ~/chromiumos/src/scripts/
$ ./make_chroot
This will make the chroot-environment, in which Chromium will be built. On commodity hardware, this’ll take anywhere between 10-30 minutes.
Now, enter the chroot.
$ cd ~/chromiumos/src/scripts/
$ ./enter_chroot.sh
And set up board for your system.
(cros-chroot) $ cd ~/trunk/src/scripts/
(cros-chroot) $ ./setup_board –board=x86-generic
Build the Chromium packages.
(cros-chroot) $ cd ~/trunk/src/scripts/
(cros-chroot) $ ./build_packages –board=x86-generic
And build the Chromium image for your board.
(cros-chroot) $ ./build_image –board=x86-generic
This will have generated a unique image for you.
(cros-chroot) $ ls -alh ~/trunk/src/build/images/x86-generic
total 16K
drwxr-xr-x 4 mattias root 4.0K Aug 26 23:22 .
drwxr-xr-x 3 mattias root 4.0K Aug 26 20:45 ..
drwxr-xr-x 2 mattias eng 4.0K Aug 26 23:22 0.8.69.2010_08_26_2313-a1
lrwxrwxrwx 1 mattias eng 25 Aug 26 23:22 latest -> 0.8.69.2010_08_26_2313-a1
Now, to easily test your image, you can convert it to a VMware VMDK file using the built-in convert script.
(cros-chroot) $ cd ~/trunk/src/scripts/
(cros-chroot) $ ./image_to_vm.sh –from=../build/images/x86-generic/latest/ –board=x86-generic –make_vmx –format vmware –vmdk chromium_os_x86-generic.vmdk –vmx chromium_os_x86-generic.vmx
This will try to generate the VMware image, but changes are you’ll run into the following error.
./image_to_vm.sh: line 236: qemu-img: command not found
You can solve this by first installing the necessary “qemu-img” package.
(cros-chroot) $ sudo emerge app-emulation/qemu-softmmu
And re-generating your VMware image.
(cros-chroot) $ ./image_to_vm.sh –from=../build/images/x86-generic/latest/ –board=x86-generic –make_vmx –format vmware –vmdk chromium_os_x86-generic.vmdk –vmx chromium_os_x86-generic.vmx
And you’ll find your VMware files in the following directory.
(cros-chroot) $ ls -alh ~/trunk/src/build/images/x86-generic/latest/
drwxr-xr-x 5 mattias eng 4.0K Aug 27 00:07 .
drwxr-xr-x 4 mattias root 4.0K Aug 26 23:22 ..
-rw-r–r– 1 mattias eng 191 Aug 27 00:06 boot.config
-rw-r–r– 1 mattias eng 834 Aug 26 23:13 boot.desc
-rw-r–r– 1 mattias eng 675M Aug 27 00:07 chromium_os_x86-generic.vmdk
-rw-r–r– 1 mattias eng 381 Aug 27 00:07 chromium_os_x86-generic.vmx
Now exit the chrooted environment, and copy the VMware files found in the following location to your local computer.
$ ls -alh ~/chromiumos/src/build/images/x86-generic/latest/
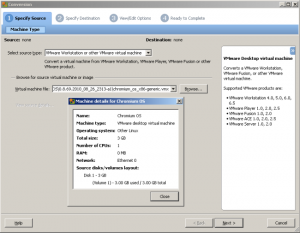
Fire up ye old VMware vCenter Converter , choose the “VMware Workstation or VMware Virtual Machine” as source, and browse to your .VMX file.
Proceed with the wizard, crank up the assigned memory a bit (defaults to 32MB), and boot up your Virtual Machine.
Have fun!
