I encountered the following when trying to do a VMware Conversion of an Ubuntu 9.10 system. It failed at the last 99% with the following error.
error = (converter.fault.CloneFault) {
dynamicType = <unset>,
faultCause = (vmodl.MethodFault) null,
description = "GrubInstaller::InstallGrub: /usr/lib/vmware-converter/installGrub.sh failed with return code: 127, and message:
/vmware-updateGrub.sh: 38: grub: not found
Error running GRUB
Error running vmware-updateGrub.sh through chroot into /mnt/p2v-src-root
",
msg = "An error occurred during the conversion.",
},
result = <unset>,
progress = 99,
This is caused by a difference in Grub version: Ubuntu 9.10 was the first to introduce Grub 2.0 and the convertor seems to mix that up with tne 1.x version of Grub.
How to fix your Grub after a VMware Convertor#
Here are the steps I took to fix this and boot the system again.
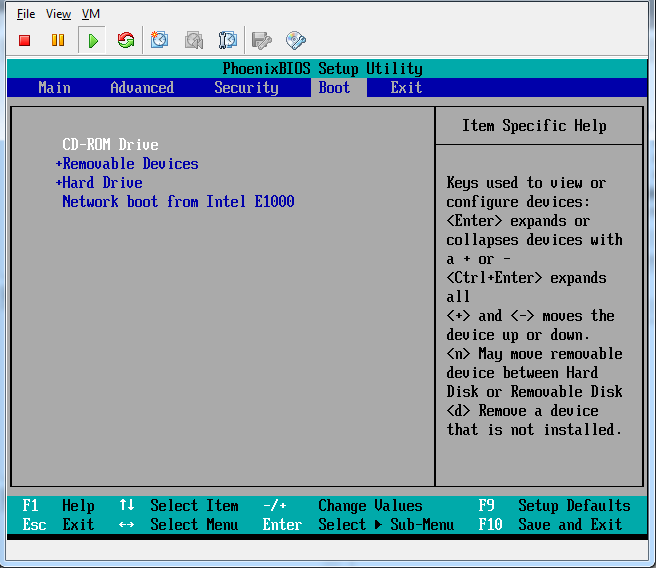
First, boot your system with the Ubuntu 9.10 Server ISO image (the desktop version won’t work). Make sure your boot order in the Virtual Machine’s BIOS is changed to boot from CDROM first.
Force boot into BIOS
And change the boot order if required in the BIOS.
Change BIOS boot order to CDROM
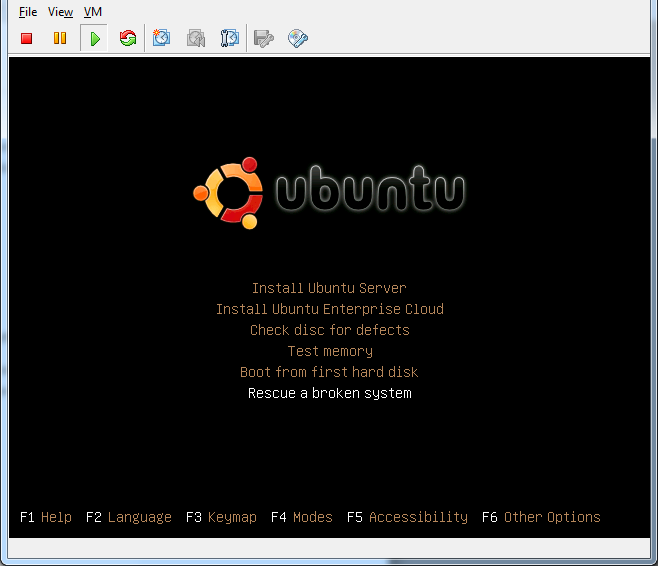
Now, you should be prompted with several install options from the Server ISO. Choose the “Rescue a broken system”.
Rescue a broken file system
You’ll be prompted with a few questions, such as location, language, keyboard layout and network config. Make sure you enter it all. You will need an internet connection to proceed, so check if your network connections are OK.
After you’ve booted, you’ll be prompted to choose a partition to mount as your root filesystem. In my case, that was /dev/sdb1. On the /dev/sda1 was my /boot mount and the /dev/sda2 contained the swap partition. So I choose /dev/sdb1 as root file system.
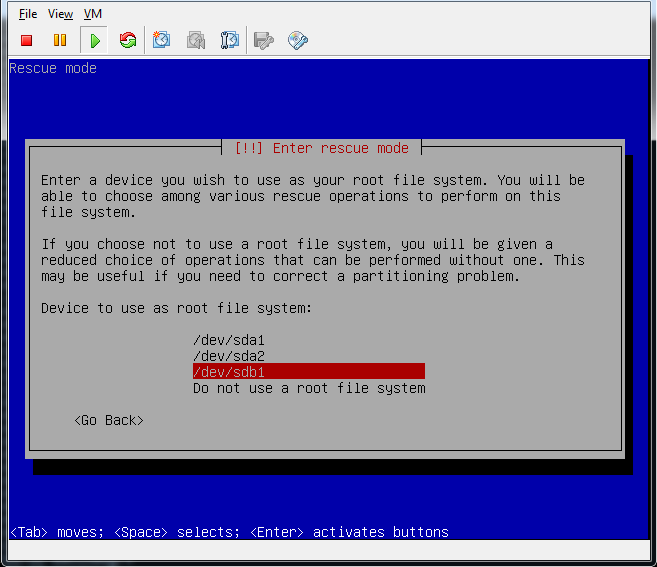
Choose a root file system
After the prompt, choose the option to get a shell on that partition.
Next, run the following commands (you may have to alter the config a bit to your partition layout).
~# fdisk -l
/dev/sda1: boot
/dev/sda2: swap
/dev/sdb1: root
With fdisk -l I verified my partition layout. Next, mount the /boot partition.
~# mkdir /boot
~# mount /dev/sda1 /boot
And run the grub2 install & configure.
~# apt-get install grub2
~# upgrade-from-grub-legacy
You’ll be prompted where to install the grub bootloader next. If you’re unsure, check both partitions.
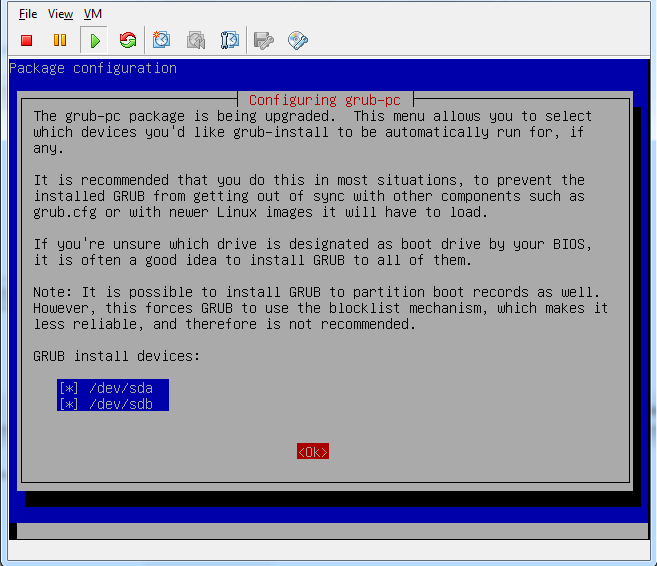
Grub install devices
Next up: unmount your Server ISO and reboot the system, it should boot just fine now.