This post will show you how to use Bitbucket Pipelines to build and test your Laravel Project in a docker container.
I will use clean Laravel App from Laravel Quick Start repository , but you can use your existing application or start a new project.
Pre-requirements#
What do we need?
- Bitbucket account
- Laravel Application (Fresh one or existing) which has git repository on Bitbucket
- And good glass of cognac (You will need one ;) )
Let’s go.
How it works#
Bitbucket pipelines knows when to run by having a file in your Laravel app root folder called bitbucket-pipelines.yml. If that file exists in your root folder, Pipelines will always run on every single commit you make to that branch.
What happens in the background is when you push your code, Pipelines will look for your build config file (bitbucket-pipelines.yml) and go through steps that you have defined and build your application using docker images.
Let’s kick off#
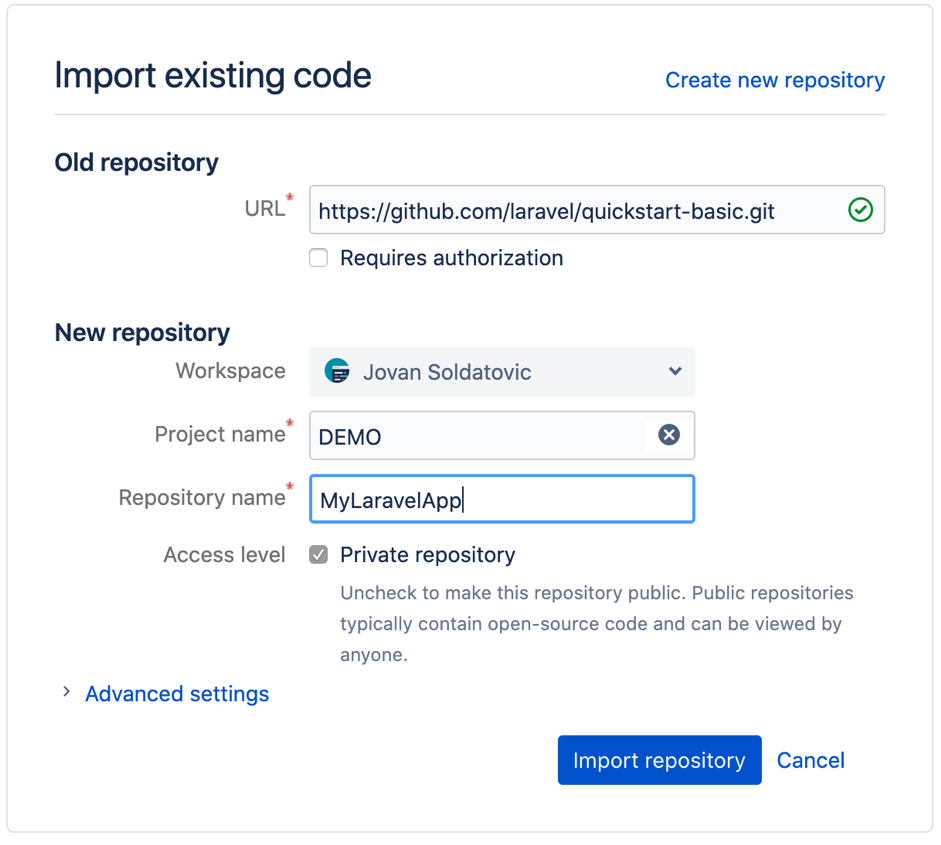
As said above I will be using a clean Laravel app from Laravel master branch and importing it as a new repository to my bitbucket account.
To do this, login to your Bitbucket account and at left sidebar you will see a + sign, then Repositories , then click on import repository.

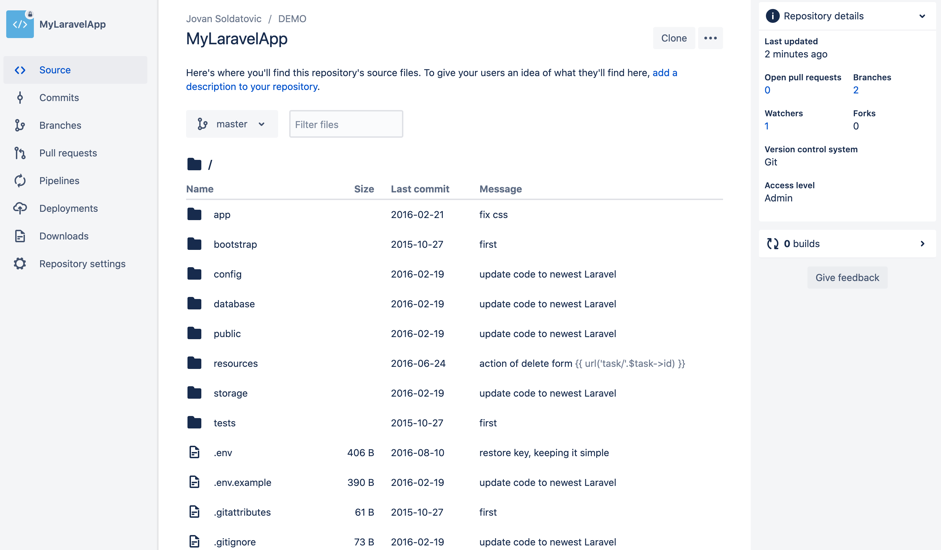
And Voilà, our Laravel App has been imported and we are ready to proceed.

Enabling Bitbucket pipelines#
In our repo, we will click on Pipelines and then below the image you will see Start using pipelines. Click on it.
If you do not have paid account, don’t worry. Every account has free 50 minutes per month.
Let me quickly elaborate on those minutes. For every build a certain amount of time is needed to run through all our defined steps, whether its downloading docker images from Docker Hub , dependencies (libraries) or running composer install or npm install and compiling source at the very end. Plus optionally running unit or e2e tests.
At the end, our build will take around two minutes to run. That can be optimized and you do not have to run builds for every push, we may want to run them only when we merge a feature branch to staging, up to you really.
We will choose a language template (PHP of course in our case) and bitbucket will offer us their own template for php of bitbucket-pipelines.yml file.
Defining our own steps for pipelines#
Now let’s define our own build steps. We will go through what we want to do:
- We will use a base docker image 7.2-fpm to run our Laravel app on as it has everything we need pre-installed.
- Install dependencies (git, curl and etc…) from OS packages
- Install PHP extensions for mcrypt and mysql
- Install Composer and use it to install PHP dependencies
- We shall set variables to control cache, data storage & database usage
- Run artisan for migrations and start the our Laravel application
- Put our app to Sleep for 5 seconds to allow app time to start
- Use curl to ensure we are running
- And run unit tests at very end
So let’s write down our bitbucket-pipelines.yml. I will explain each line and at the end of the article you will see the whole file.
Firstly we need to declare which image we will be using as a base to run our build. So at first line we have:
Image: php:7.2-fpm
This means that we will pull a docker image from Docker Hub with name php:7.2-fpm, you can of course change PHP version to 7.3 or any other, we will be using 7.2.
Now let’s define our actual pipeline, by adding following line after image:
pipelines:
We can define in which case we want to run this pipeline, only for certain branch or always, in our case we will run it always, so under pipelines, we will be adding:
default:
We are ready to define our steps for our build, its usually good to name steps, so everything is more visible. We will be adding:
- step:
    name: Node Build
    image: node:8.9.4
    caches:
        - node
    script:
        - npm install
        - npm run dev
Now as have defined our step, let’s go through each line. We have named it "Node Build" as I want firstly to install node dependencies and compile my frontend.
As you know we have defined base image php7.2-fpm, but as it doesn’t have node and npm installed on it, we need to use different docker container, so we are defining image that we will be using in this step. in this case: node:8.9.4 , again version can be changed.
If you remember when I mentioned above running time of build, we can optimize that by caching our node_modules folder, by simply adding caches: - node which will cache the node_modules folder and it won’t have to download every time we run our build.
At the very end we have script: part which allows us to run shell commands on our docker container and of course we will be using that to install node dependencies and compile our javascript.
Now we have our fronted, let’s move to actual Laravel app, for that we will add another step called in our case App build
- step:
    name: App Build
    caches:
        - composer
    script:
        - apt-get update && apt-get install -qy git zip curl libmcrypt-dev default-mysql-client libxml2-dev wget
        - yes | pecl install mcrypt-1.0.1
        - docker-php-ext-install pdo\_mysql bcmath
        - curl -sS https://getcomposer.org/installer | php -- --install-dir=/usr/local/bin --filename=composer
        - composer install
        - ln -f -s .env.pipelines .env
        - php artisan migrate
        - php artisan key:generate
        - php artisan serve &
        - sleep 5
        - ./vendor/bin/phpunit
        - curl -vk http://localhost:8000/
That should do. Let’s quickly go through it. First thing we did is set up the caching of the vendor folder from composer so we don’t have to download it every time.
We are installing git, zip and curl via the apt package manager on our OS, followed by mcrypt via pecl.
Now one step that can be interesting to you is php extension which is installed by command: docker-php-ext-install.
You can define php extensions which your project needs, here is a list of them to help you out.
Next step is installing composer on our OS and running it.
I have a separate .env example file called .env.pipelines where default MySQL credentials are set so I am renaming it to .env.
At the very end, running artisan, putting our app to sleep for 5 seconds and running unit tests (optional).
So now we have our fronted and application, but we are missing a key ingredient here: database! So let’s set that up too. Probably you have guessed already that we will have to use a different docker image for that which has MySQL server on it and that’s correct. At the very bottom of our bitbucket-pipelines.yml we will add definitions which will help us running database.
definitions :
    services :
        mysql:
            image: mysql:5.7
            environment:
                MYSQL_DATABASE: 'homestead'
                MYSQL_RANDOM_ROOT_PASSWORD: 'yes'
                MYSQL_USER: 'homestead'
                MYSQL_PASSWORD: 'secret'
As you can see we have defined our MySQL container, which will be using image called: mysql:5.7 and default database with credentials set.
The only remaining thing to do is to add this actual service to our default.
So under our App build step we will include MySQL service by adding following lines:
services:
    - mysql
The final build-configuration#
So how does our bitbucket-pipelines.yml actually look like? Here is a preview:
image: php:7.2-fpm

pipelines:
  default:
    - step:
        name: Node Build
        image: node:8.9.4
        caches:
          - node
        script:
          - npm install
          - npm run dev
    - step:
        name: App Build
        caches:
          - composer
        script:
          - mkdir /usr/share/man/man1/
          - apt-get update && apt-get install -qy git zip curl libmcrypt-dev default-mysql-client libxml2-dev default-jre wget maven
          - yes | pecl install mcrypt-1.0.1
          - docker-php-ext-install pdo_mysql bcmath
          - curl -sS https://getcomposer.org/installer | php -- --install-dir=/usr/local/bin --filename=composer
          - composer install
          - ln -f -s .env.pipelines .env
          - php artisan migrate
          - php artisan serve &
          - sleep 5
          - ./vendor/bin/phpunit
          - curl -vk http://localhost:8000
        services:
          - mysql

definitions:
  services:
    mysql:
      image: mysql:5.7
      environment:
        MYSQL_DATABASE: 'homestead'
        MYSQL_RANDOM_ROOT_PASSWORD: 'yes'
        MYSQL_USER: 'homestead'
        MYSQL_PASSWORD: 'secret'
Before pressing commit and being done with this file, make sure that you have in your App root folder following file: .env.pipelines with following contents:
APP_ENV=local
APP_KEY=ThisIsThe32CharacterKeySecureKey
DB_CONNECTION=mysql
DB_HOST=127.0.0.1
DB_DATABASE=homestead
DB_USERNAME=homestead
DB_PASSWORD=secret
If you have that, press commit. We are ready to go!
What it looks like#
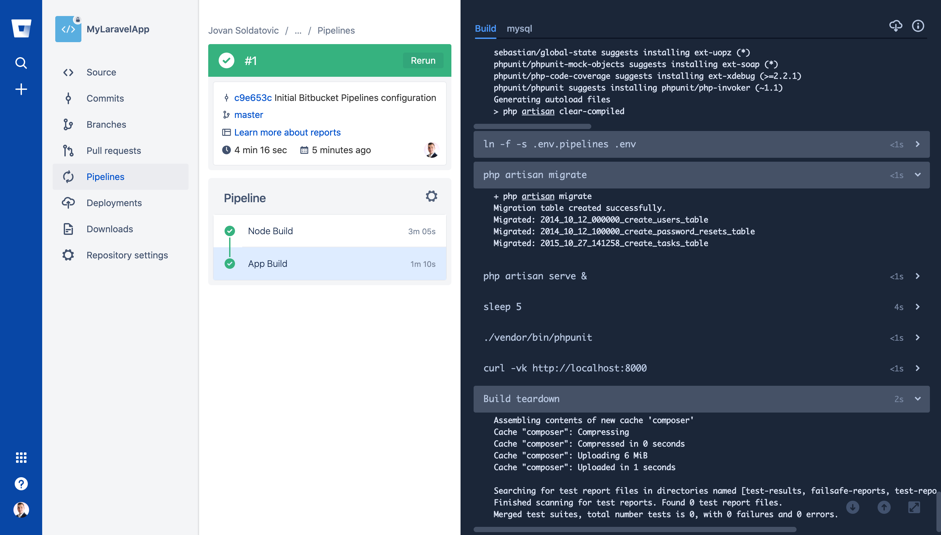
Head over to Pipelines and you will see that our build is in progress, let it run. After a couple of minutes this is how it should look like.

Conclusion#
You will see that our initial first run of build took around 4 minutes, next one should be around 2 minutes as composer and node are cached, so you will save some build minutes.
Now you have a foundation on which you can build and add your own steps or additional configuration. Important to remember is that these images are destroyed after being run and outputting results. You can setup slack or mail notifications to get results.
My team and I are using pipelines with our Laravel/tailwind/VueJS/Angular products for every push on development & staging branch, where our QA specialist is getting the output results for his smoke tests and our backend team is getting results from unit tests.
I hope that this was helpful, you can find demo repository that I created for purpose of this post at the following link .
As this post is already too big, for the next post we will explain how to run smoke tests via selenium together with our Laravel app.