SPDY is the protocol designed by Google, which is later to be known as HTTP/2. Nginx supports this protocol, on top of SSL connections, and since recent versions it has the --with-http_spdy_module option enabled!
And seeing as how Google is investigating if they can show plain HTTP sites as “unsecure”, this may be the perfect time for you to consider an SSL certificate on your site, with SPDY enabled.
Install Nginx from the official repositories
For this to work, the easiest setup is to install Nginx from the official repositories. In the case of CentOS 6, that would be the following simple steps.
$ rpm -ivh "http://nginx.org/packages/rhel/6/noarch/RPMS/nginx-release-rhel-6-0.el6.ngx.noarch.rpm"
$ yum install nginx
Your installed version should be at least in the 1.6 release. If you already have Nginx installed from other sources, such as EPEL, you can install the Nginx repository as shown above and update to the latest version via yum clean all && yum update nginx. The version from the Nginx repository is likely to be the latest one available.
Enable SPDY on SSL vhosts
Since SPDY runs on top of SSL/TLS, you need a working SSL-enabled website already. For that, you’ll have a config similar to this in your Nginx.
server {
    listen       443 ssl;
    server_name  ma.ttias.be;
...
    ssl on;
    ssl_certificate ...;
    ssl_certificate_key ...;
}
For a correct SSL configuration, I recommend you have a look at Mozilla’s recommended Nginx server configuration, which contains a lot of templates and best practices.
Now, to enable SPDY, first verify that your Nginx version supports the SPDY protocol.
$ nginx -V 2>&1 | grep 'spdy'
configure arguments: --without-mail_pop3_module --without-mail_imap_module --without-mail_smtp_module --with-http_stub_status_module --conf-path=/etc/nginx/ --error-log-path=/var/log/nginx/error.log --http-log-path=/var/log/nginx/access.log --with-http_ssl_module --with-http_spdy_module
The line “–with-http_spdy_module” needs to be present in the argument list.
To enable SPDY, it’s as easy as changing this line:
listen 443 ssl;
to this one:
listen 443 ssl spdy;
… and reloading your Nginx config with a service nginx reload.
Testing for SPDY
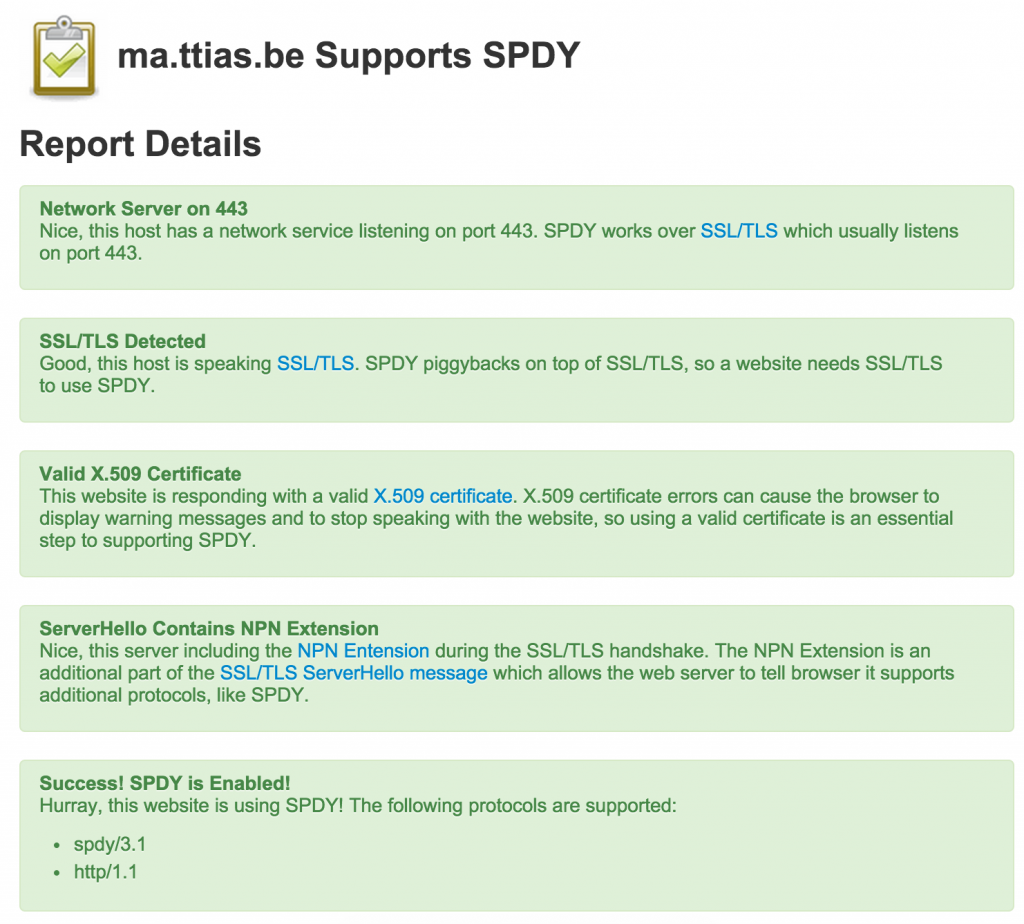
There’s a simple website that allows you to test your SPDY configuration: spdycheck.org.
If the test indicates a success, you’re set!
